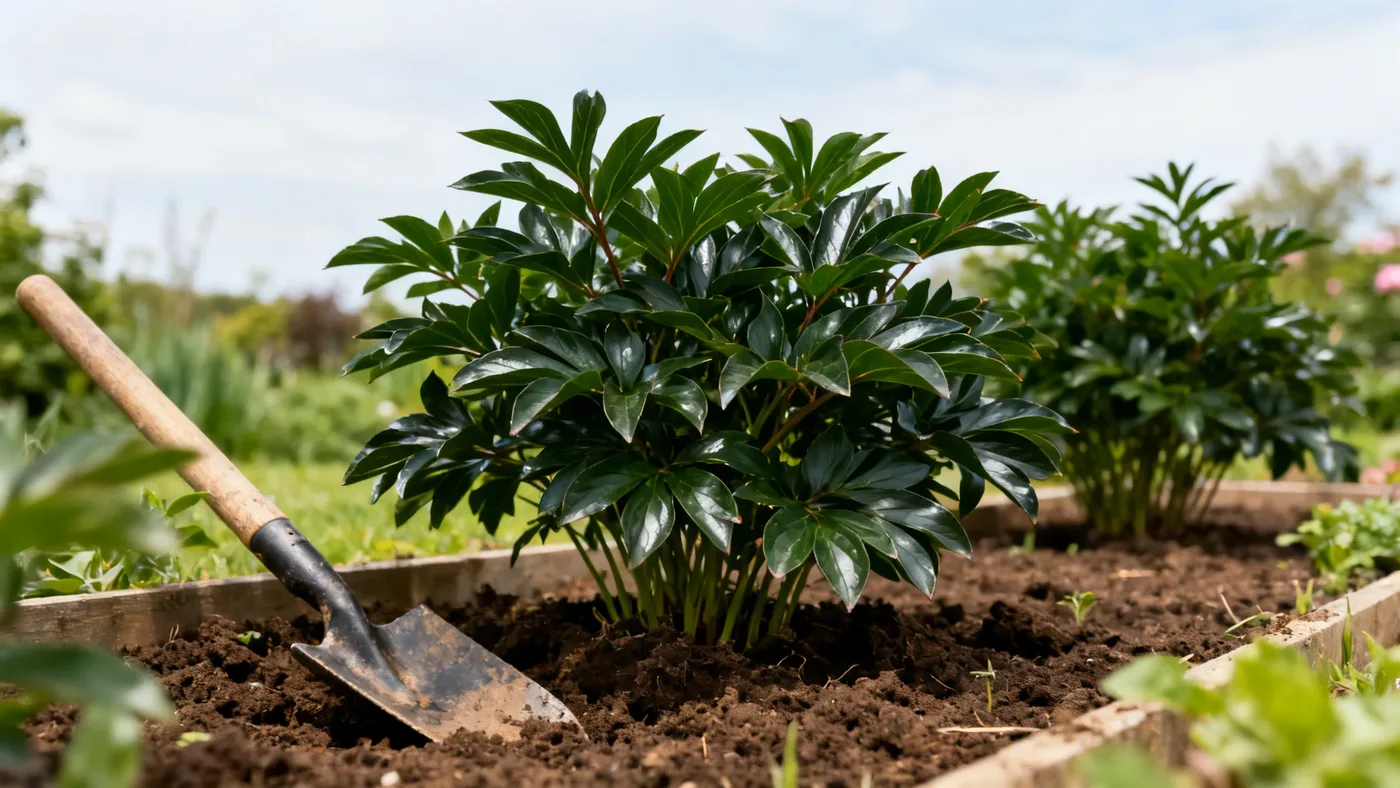
How to Transplant Sarah Bernhardt Peony Successfully
Moving a mature Sarah Bernhardt Peony is not a casual task, but it's also not impossible. This cultivar resists disturbance more than most perennials, so success depends on timing, technique, and patience. Whether you're relocating an established plant to a sunnier spot or dividing it to create new plantings, the same principles apply: move it in early fall, disturb the root system as little as reasonably possible, and give it time to recover before expecting full bloom again.
When to Transplant Your Sarah Bernhardt Peony
Timing matters more than technique when moving peonies. Early fall (September in most of the US) is the ideal window. At this point, the plant has finished blooming and is shifting energy from foliage back into the roots. The soil is still workable, roots have time to establish before winter dormancy, and you avoid the heat stress of summer moves.
Early spring is your second-best option, but only for potted stock purchased from a nursery. Container plants can be installed in early spring without the same transplant shock risk as moving an in-ground mature plant during the growing season. If you must move an established peony outside the early fall window, expect a delayed bloom cycle and possibly a year of minimal flowers.
Fall transplanting allows root establishment over winter months, so shoots emerge from a plant with renewed vigor come spring. Even so, most transplanted peonies show reduced blooming for at least one season as they redirect energy to recovering the root system.
What You'll Need
Gather these materials before you start digging:
- A sharp spade or garden fork
- Pruning shears (sharp)
- Garden twine or a marker for labeling divisions
- Well-draining loam enriched with compost or aged manure
- Bone meal or a balanced 5-10-10 fertilizer
- Mulch (aged bark chips or straw)
- Bucket of water for soaking roots
- A second person if the plant is large (optional but helpful)
You should also confirm the pH of your new planting site. Sarah Bernhardt thrives in soil with a pH between 6.5 and 7.0, so test if your target location is unknown.
How to Divide Your Peony (If Relocating and Creating New Plants)
Dividing a peony is optional if you simply want to move the whole plant to a new location. But if your goal is to expand your collection or create smaller plantings, early fall is the moment to do it.
After you've excavated the peony (see step-by-step instructions below), rinse the soil gently from the roots using the bucket of water. You'll see a crown structure with multiple "eyes" (buds visible at soil level). Each division should contain 3-5 eyes attached to tuberous roots. Make cuts with a sharp knife, allowing each eye some root attached.
Peonies resent disturbance, and each division will spend its first 2-4 years reaching full mature size and peak bloom. Expect lighter flowering in the first few years after division compared to mature, undisturbed plants.
Step-by-Step Transplanting Instructions
Step 1: Cut back the foliage
In early fall, once frost has browned the shoots, cut the stems back to 2-3 inches above ground level. This reduces the surface area you'll need to support during the move and lets you see the crown clearly when digging.
Step 2: Dig wide and deep
Mark a circle around the plant roughly 12-18 inches from the crown. Peonies form extensive tuberous root systems, so dig to a depth of 12-16 inches and undercut the roots from multiple angles. The goal is to lift the entire clump without severing roots. If you encounter significant resistance, dig wider rather than pulling harder.
Step 3: Extract and clean the root system
Once loosened, carefully lift the peony out of the hole. Gently hose off or hand-wash the soil from the roots in your bucket of water. You need to see the crown and count the eyes to plant at the correct depth. Do not let roots dry out during this process; keep them in moist soil or wrap the clump in a damp cloth.
Step 4: Prepare the new planting hole
Dig a hole in your new location wide enough to accommodate the root system without bending or crowding roots. The hole should be roughly the same depth as the original planting. Mix bone meal or 5-10-10 fertilizer into the bottom of the hole according to package directions.
Step 5: Position the plant at correct depth
This is critical: the crown eyes should sit no more than 1-2 inches below the soil surface. If planted too deep, the peony may fail to bloom. Position the plant so the crown is level with the surrounding ground, and the eyes are visible just under the soil line. Backfill with amended soil and water thoroughly.
Step 6: Mulch and water
Apply 2-3 inches of aged mulch (bark chips or straw) around the base, keeping it a few inches away from the crown to prevent rot. Water deeply after transplanting to settle the soil and eliminate air pockets around the roots. Peonies prefer moderately moist soil during establishment, so water weekly if fall rains are sparse.
Tips for Successful Transplant Recovery
- Space correctly: Plant Sarah Bernhardt peonies 3 feet apart (center to center) so mature plants have room to grow. The species reaches 24-36 inches wide at maturity, and crowding encourages disease.
- Choose the right light: Full sun (6 or more hours daily) is ideal. In hot southern zones, light afternoon shade helps extend the bloom period.
- Test drainage: Poor drainage causes root rot and is a leading cause of transplant failure. If your new site has wet soil in spring, consider raised beds or amending heavily with compost to improve drainage.
- Avoid fertilizer burns: Do not apply fertilizer to newly transplanted peonies in fall. Wait until early spring of the following year to apply a light dose of bone meal as shoots emerge.
- Minimize root disturbance: Keep digging to one attempt if possible. Repeated excavation in the same season exhausts the plant.
- Label your divisions: If you've divided the peony, use garden twine or a stake to mark each section so you remember which is which.
Common Transplanting Mistakes to Avoid
Planting too deep: This is the single most common reason transplanted peonies fail to bloom. Eyes deeper than 1-2 inches will not produce flowering shoots. Double-check the depth before backfilling.
Transplanting in spring: Moving an in-ground established peony in late spring or summer exposes it to heat stress and heavy water demands before the root system is ready. Stick to fall or early spring only.
Breaking roots during extraction: Take your time digging. A few extra minutes now prevents weeks of recovery stress. Do not pull or yank on the foliage; dig around the plant until it lifts freely.
Leaving roots exposed: Peony roots dry out quickly. Keep them moist from the moment you start digging until they are replanted and watered.
Ignoring drainage: Even peonies eventually rot in soggy soil. If your new site holds water after rain, improve drainage before planting or choose a different location.
What to Expect After Transplanting
The year after a fall transplant, your Sarah Bernhardt may produce few or no blooms. This is normal. The plant is redirecting energy to re-establish roots rather than flower production. Light bloom is possible in year 1-2 after transplanting, but full, mature bloom display typically returns by year 3-4 as the plant resettles and regains vigor.
If the transplant is successful, the recovered plant should resume its characteristic strong, sweet rose-like fragrance and pale pink blooms. The dark green, deeply lobed foliage should return to its healthy glossy state once established.
A well-established Sarah Bernhardt can live 20-50 years or more in the landscape, so the investment in careful transplanting now pays dividends for decades. Once settled, allow the plant to remain undisturbed for many years. Peonies improve with age, so resist the urge to move it again unless absolutely necessary.
For more detailed care guidance after transplanting, refer to our complete Sarah Bernhardt Peony care guide, and review our planting guide for spring and fall best practices.
Quick Reference: Transplanting Checklist
| Step | Timing / Details | Key Point |
|---|---|---|
| Choose timing | Early fall (September) or early spring (potted stock only) | Fall is best for in-ground mature plants |
| Cut back foliage | After frost browns the shoots in fall | Cut to 2-3 inches above ground |
| Dig excavation circle | 12-18 inches out from crown, 12-16 inches deep | Dig wide, not deep; avoid severing roots |
| Rinse roots | Use bucket of water to expose crown and eyes | Eyes must be visible to plant at correct depth |
| Prepare new hole | Same depth as original, enriched with bone meal | Test soil pH: 6.5-7.0 is ideal |
| Plant at correct depth | Eyes sit 1-2 inches below soil surface | Too deep = no blooms; too shallow = freeze damage |
| Backfill and water | Water thoroughly; apply 2-3 inches of mulch | Moist soil aids root establishment |
| First-year expectations | Year 1-2: light or no bloom; Year 3-4: full bloom | This is normal recovery; do not disturb again soon |
| Site requirements | Full sun (6+ hrs); 3 ft spacing; well-draining loam | Poor drainage or crowding invites problems |