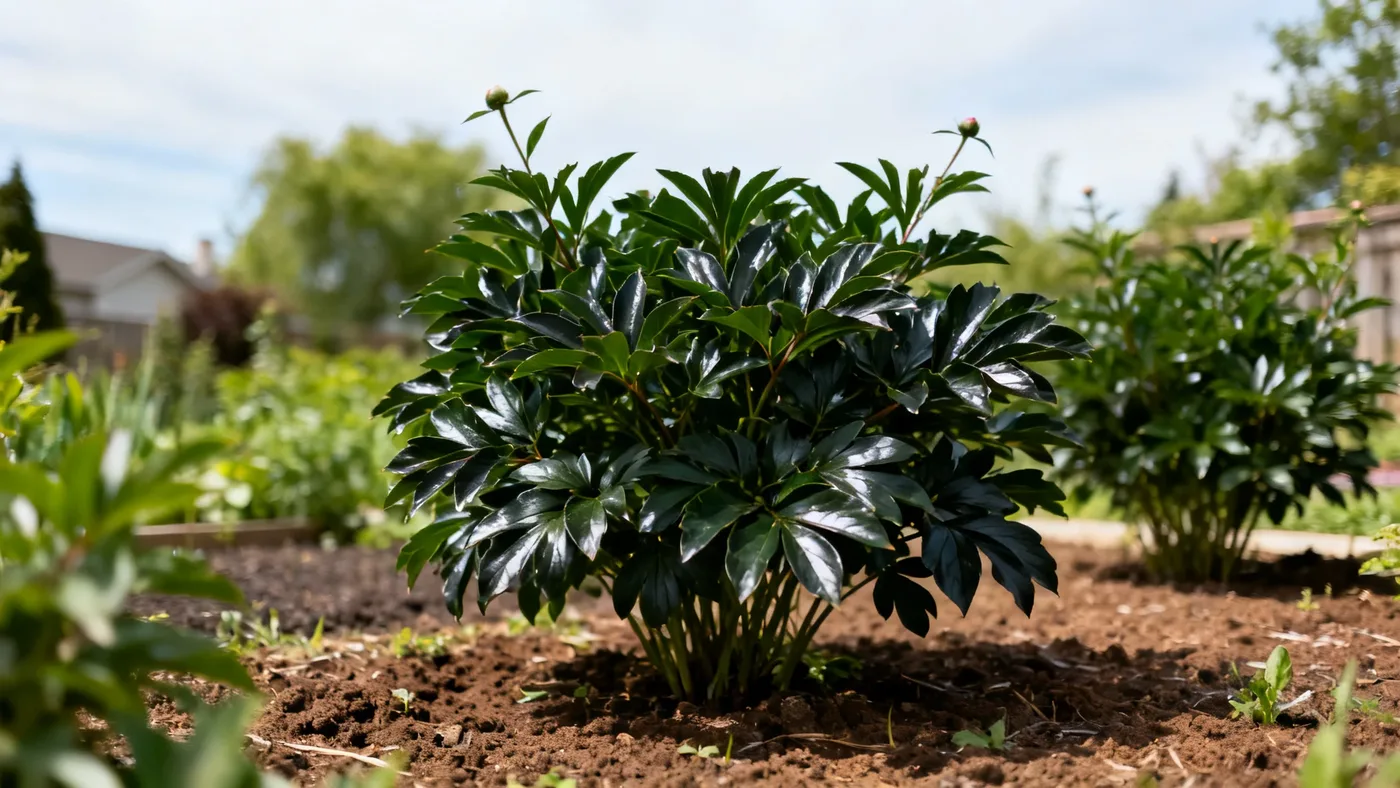
Propagating Sarah Bernhardt Peony by Division
Dividing Sarah Bernhardt Peony is one of the few ways to multiply an established plant in your garden. Unlike some perennials that almost beg to be split, peonies are deliberate about it: they resent being moved and recover slowly from division. When done properly, though, division gives you new flowering plants that carry the exact genetics of your original, mature specimen. This guide walks you through the process so you can propagate Sarah Bernhardt Peony successfully.
Why Divide Your Sarah Bernhardt Peony
Most gardeners do not need to divide peonies frequently. A well-planted Sarah Bernhardt Peony lives 20 to 50 years or longer with minimal intervention. Division makes sense in a few specific scenarios: you want to expand plantings of a cultivar you love, a plant has outgrown its space, or you are relocating a mature plant and want to increase the stock before moving it.
If your plant is thriving, the best approach is to leave it undisturbed. Peonies establish a deep root system and bloom most reliably when left in place for years. Division should be a deliberate choice, not routine maintenance.
When to Divide Sarah Bernhardt Peony
Timing is crucial for successful division. The ideal window is early fall, roughly mid-August through September in most zones, depending on your location. At this time, the summer heat has passed, soil moisture is more stable, and new root growth will have months to establish before winter dormancy.
Early spring planting of potted peony stock also succeeds, so if you divide in fall, you can pot up the divisions and grow them through winter under protection, then transplant them outdoors in early spring once the soil is workable. This method reduces transplant shock and gives divisions an extra season to recover indoors.
Avoid dividing during bloom time or in the heat of midsummer. The plant is focused on flowering or drought stress, and it will not recover quickly from root disturbance.
Materials You Will Need
- Spade or garden fork (sharp tools minimize damage to roots)
- Bucket of water for rinsing soil from roots
- Bypass pruners or sharp knife for cutting roots
- Newspaper or burlap to work on (keeps soil organized and roots moist)
- Fungicide (optional but recommended: a sulfur dust or copper fungicide)
- Shovel for digging and soil preparation
- Compost or aged manure for soil amendment
- Bone meal or balanced low-nitrogen fertilizer (5-10-10 mix)
- Potting soil if you plan to pot divisions for indoor recovery
- Pots or containers (optional, for pre-spring planting)
Step-by-Step Division Process
Step 1: Prepare the Site and Dig the Plant
Mark a wide circle around the base of your Sarah Bernhardt Peony, roughly 18 to 24 inches from the center. Peonies develop spreading crowns, and the roots extend well beyond the visible foliage. Using a sharp spade, cut down at a steep angle all around the plant to sever roots at the perimeter, loosening the soil as you work.
Once the root mass is loose, carefully lift the entire plant with a garden fork, working underneath to minimize root damage. The plant may be heavy, especially if the soil is moist. Work slowly and avoid yanking on stems. Lay the dug plant on newspaper or burlap, keeping roots moist and shaded as you work.
Step 2: Rinse and Inspect the Roots
Gently rinse soil from the root mass using a soft stream of water from the hose. You want to expose the tuberous roots and the crown (where stems join the roots) so you can identify the eyes clearly. Do not scrub aggressively; let gravity and water do the work. Dried or broken roots can be trimmed with sharp pruners.
Inspect the roots for any signs of rot, soft spots, or unusual discoloration. Healthy roots are pale or tan and firm to the touch. Discard any clearly diseased portions, cutting back into healthy tissue.
Step 3: Identify Eyes and Plan Your Divisions
Eyes on a peony root are small, reddish or purplish bumps where new growth will emerge. Each division must have at least 3 to 5 eyes to establish itself reliably. Divisions with fewer eyes may take longer to flower or fail to bloom in their first two to three years.
Plan your cuts so each division gets its own cluster of eyes plus attached root material. A mature plant typically yields 2 to 4 usable divisions, though a very large specimen may give more. Resist the urge to make many thin divisions; each piece needs sufficient root mass to support new growth.
Step 4: Cut the Root Mass
Using a clean, sharp knife or pruners, cut the peony into sections. Each division should have 3 to 5 eyes and a cluster of tuberous roots attached. Make clean cuts, removing as little root material as possible in the process.
If multiple large tuberous roots branch from a single crown section, you can gently separate them by hand or cut with a sharp blade. The goal is clean, decisive cuts that minimize exposed tissue and root damage.
Step 5: Treat Cuts with Fungicide (Optional but Recommended)
Peony roots can be susceptible to rot, especially in wet soils. After cutting, dust each division lightly with a sulfur fungicide or copper-based fungicide, following the product label. This step is optional but has prevented problems for many growers. Allow cut surfaces to air-dry slightly after treatment.
Step 6: Prepare Planting Holes or Containers
If planting divisions directly into the garden, choose a location in full sun (6 or more hours per day). Prepare the soil by mixing in aged compost or well-rotted manure to improve drainage and fertility. Sarah Bernhardt Peony prefers fertile, humus-rich, well-drained loam with a pH between 6.5 and 7.0.
Space planting holes 3 feet apart, center to center, to accommodate mature size (24 to 36 inches wide). Dig each hole wide enough to spread the roots outward and deep enough so the eyes sit no more than 1 to 2 inches below the soil surface. This is critical: planting eyes too deep is a leading cause of failure to bloom.
If you prefer to pot divisions and keep them sheltered over winter, use a large container (at least 1 gallon) filled with a mix of potting soil and compost. The same 1 to 2 inch planting depth applies.
Step 7: Plant the Division
Set each division into its hole or container, spreading roots outward and downward. Back-fill with amended soil, firming gently as you go to eliminate air pockets. Do not compress the soil heavily; aim for light firmness.
Plant divisions with the eyes just barely visible at the soil surface or up to 1 to 2 inches below. Eyes planted deeper than 2 inches often fail to produce blooms, even years later.
Step 8: Water and Mulch
Water each newly planted division thoroughly to settle soil and make contact with roots. Then apply a 2 to 3 inch layer of mulch (wood chips, shredded bark, or compost) around the base, keeping mulch a few inches away from stems to prevent rot.
Mulch moderates soil temperature and retains moisture during establishment, which is especially valuable in fall and early spring. In the first year, keep soil moderately moist but not waterlogged.
Tips for Success
Use sharp tools for all cuts. Dull blades crush roots and increase the risk of rot. Sharp cuts heal faster and reduce disease entry points.
Work in cool weather if possible. Early morning or an overcast fall day is better than a hot, sunny afternoon. Keep roots moist and shaded while you work.
Do not rush the process. Even experienced growers spend an hour or more dividing a single large peony plant carefully.
If dividing a plant in place in the garden, you can leave the old hole undisturbed for a year or two after extraction. Soil will settle and refertilize gradually. Or fill the hole with aged compost and mulch.
In colder zones (USDA zones 3 to 5), apply extra mulch (4 to 6 inches) over newly planted divisions in late fall to protect emerging eyes from frost heave.
Common Mistakes to Avoid
Planting eyes too deep is the most common cause of failure to bloom. Even one extra inch of soil over the eyes can suppress flowering for years.
Dividing too frequently exhausts the plant. Leave at least 5 to 10 years between divisions of the same plant, preferably longer.
Planting divisions in shade or partial shade slows establishment and can reduce flowering. Ensure the site gets 6 or more hours of direct sun daily.
Overwatering freshly planted divisions invites root rot. Keep soil moderately moist, not soggy. Allow it to dry slightly between waterings after the first month.
Planting during hot, dry weather stresses divisions. Fall or early spring planting in seasonally moderate weather gives better results.
What to Expect After Division
First-year divisions may produce light bloom or none at all. This is normal. The plant is using energy to establish roots and recover from the transplant.
By the second or third year, you should see moderate flowering if the division had at least 3 to 5 eyes and was planted at the correct depth.
Full, mature bloom comparable to an undisturbed plant typically takes 3 to 4 years after division. Patience is required. Once established, a divided Sarah Bernhardt Peony will bloom reliably for decades.
Growth rate is slow to moderate, reflecting the peony's herbaceous nature. Each spring, the foliage regenerates fully from the crown, and the plant expands gradually over several seasons.
Quick Reference: Division Checklist
| Task | Timing | Key Detail |
|---|---|---|
| Dig the plant | Early fall (mid-August to September) | Dig wide to avoid root damage |
| Rinse roots | Immediately after digging | Expose crown and eyes clearly |
| Plan divisions | During rinsing | Minimum 3-5 eyes per division |
| Cut the plant | After inspection | Clean, sharp cuts only |
| Treat cuts (optional) | After cutting | Apply sulfur or copper fungicide |
| Prepare site | Before or during digging | Full sun, fertile soil, 3 ft spacing |
| Plant division | Within a few hours of division | Eyes 1-2 inches below soil surface |
| Water and mulch | Immediately after planting | Moderate moisture, 2-3 inch mulch layer |
| Monitor establishment | First year | Keep soil moderately moist; avoid overwatering |
| Expect bloom | Year 2-3 for light bloom; year 3-4 for full bloom | Patience required; plant strengthens each year |
For more comprehensive information on Sarah Bernhardt Peony care, including year-round maintenance, fertilizing schedules, and pest management, see the complete Sarah Bernhardt Peony care guide.